Published
To get started you will need to navigate to aws.amazon.com

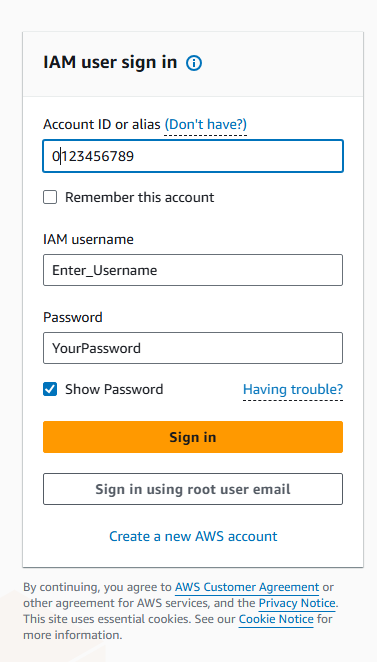
Log in to your IAM user account. It is best practice is to not log into the account as the root user. An even better option is to create a new user that is in the Amplify Administrator group. This limits access down to only what is necessary. Finally, it is highly recommended to enable MFA on the account. Hardware tokens or passkeys are good options.
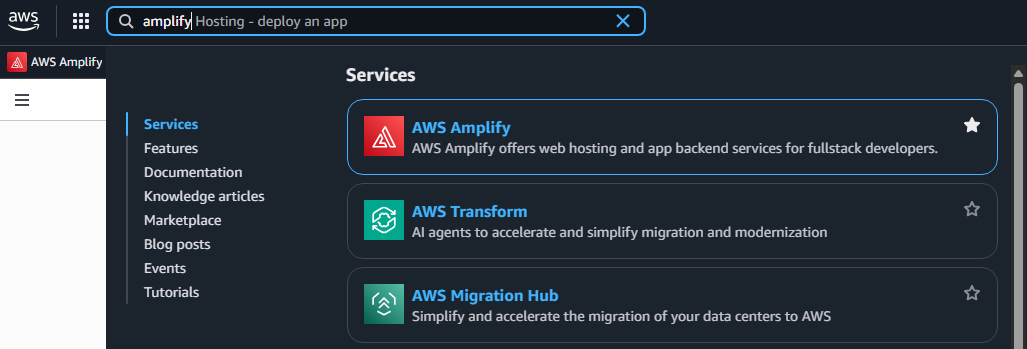
From the console search for Amplify in the upper search bar. Favorite this service as well for quick access later.
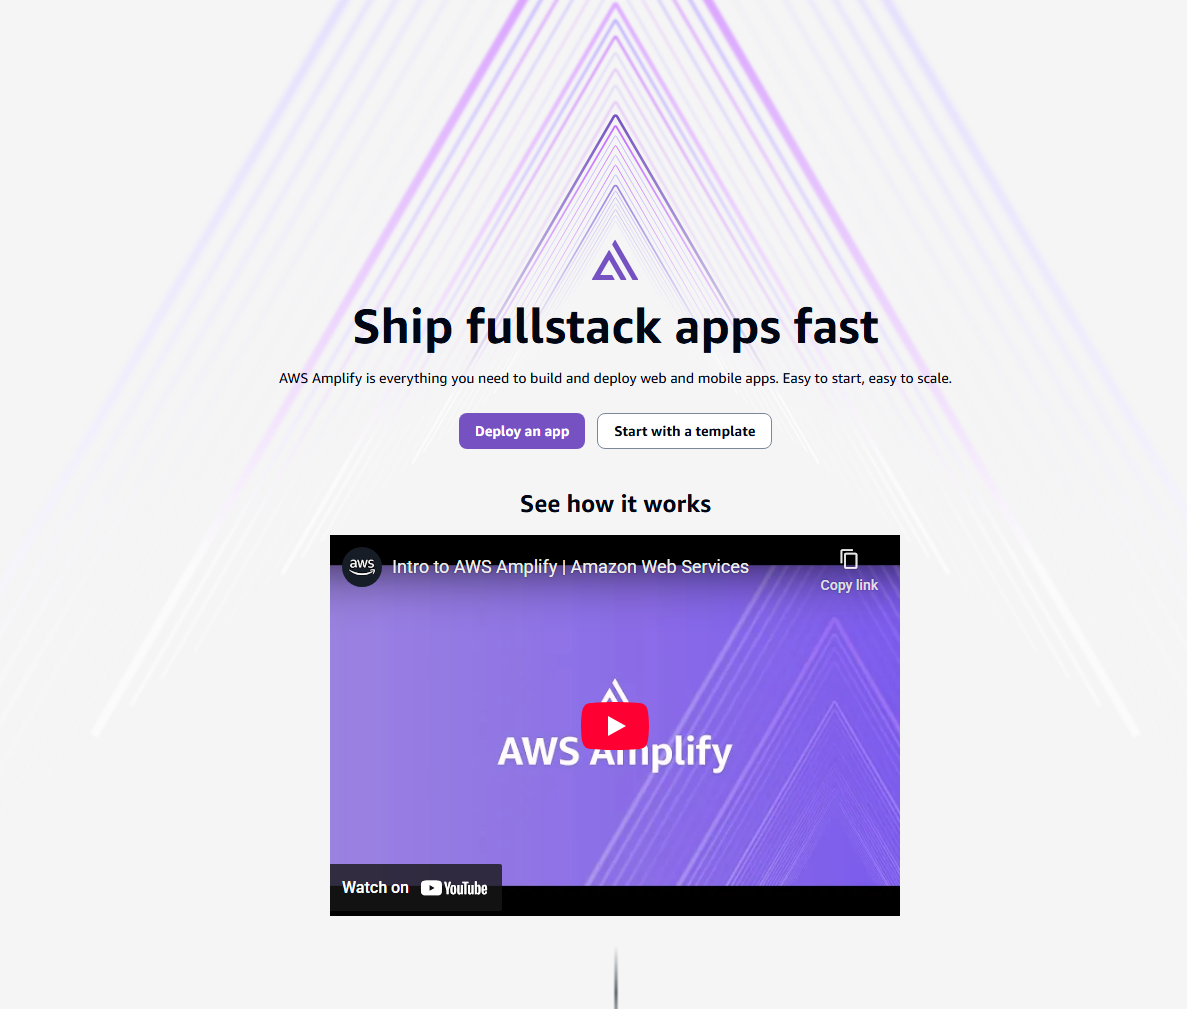
You’ll be greeted by this window. Select “Deploy an app” in the middle of the window.
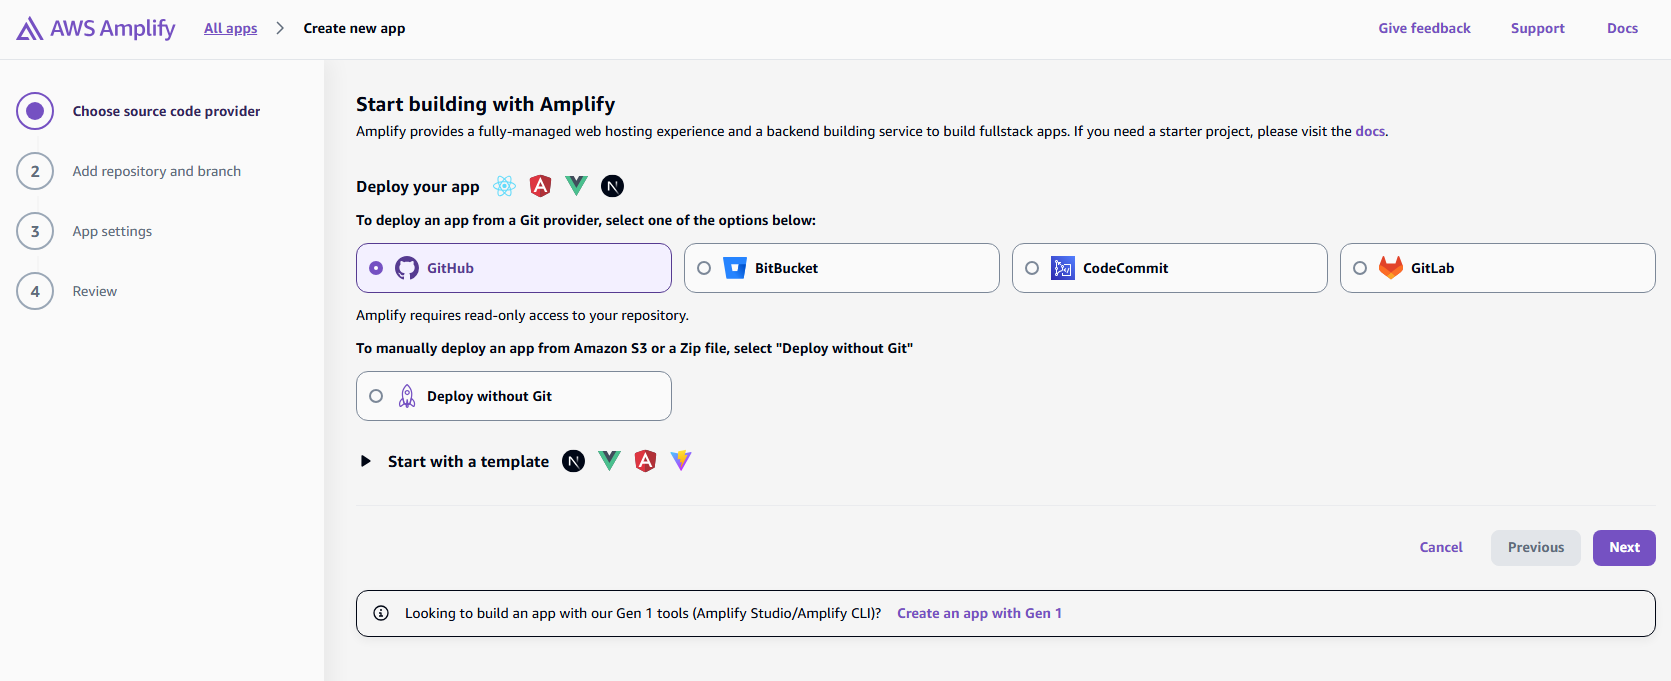
The deployment will walk you through the options of setting up the web app. This tutorial is going to use GitHub to host our website files.
Note: It is easier if you log into GitHub in a separate web browser window since some settings will need to be configured.
Back on the AWS page and once GitHub is selected, click next. You should see a pop-up window appear asking for GitHub to install the AWS Amplify application and for permissions. You’ll need to log in to GitHub first if you haven’t already done so.
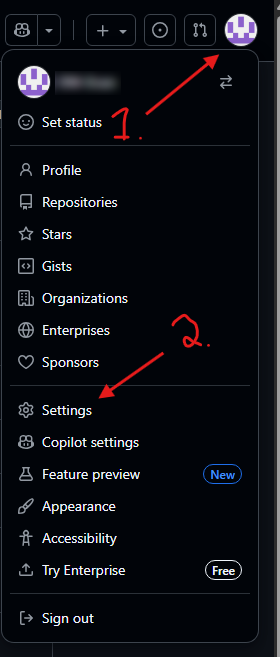
Next, go back to the web browser window that is logged into GitHub and create a new repository to store your web page files. Once the repository is created click on your account icon in the upper right corner followed by Settings.
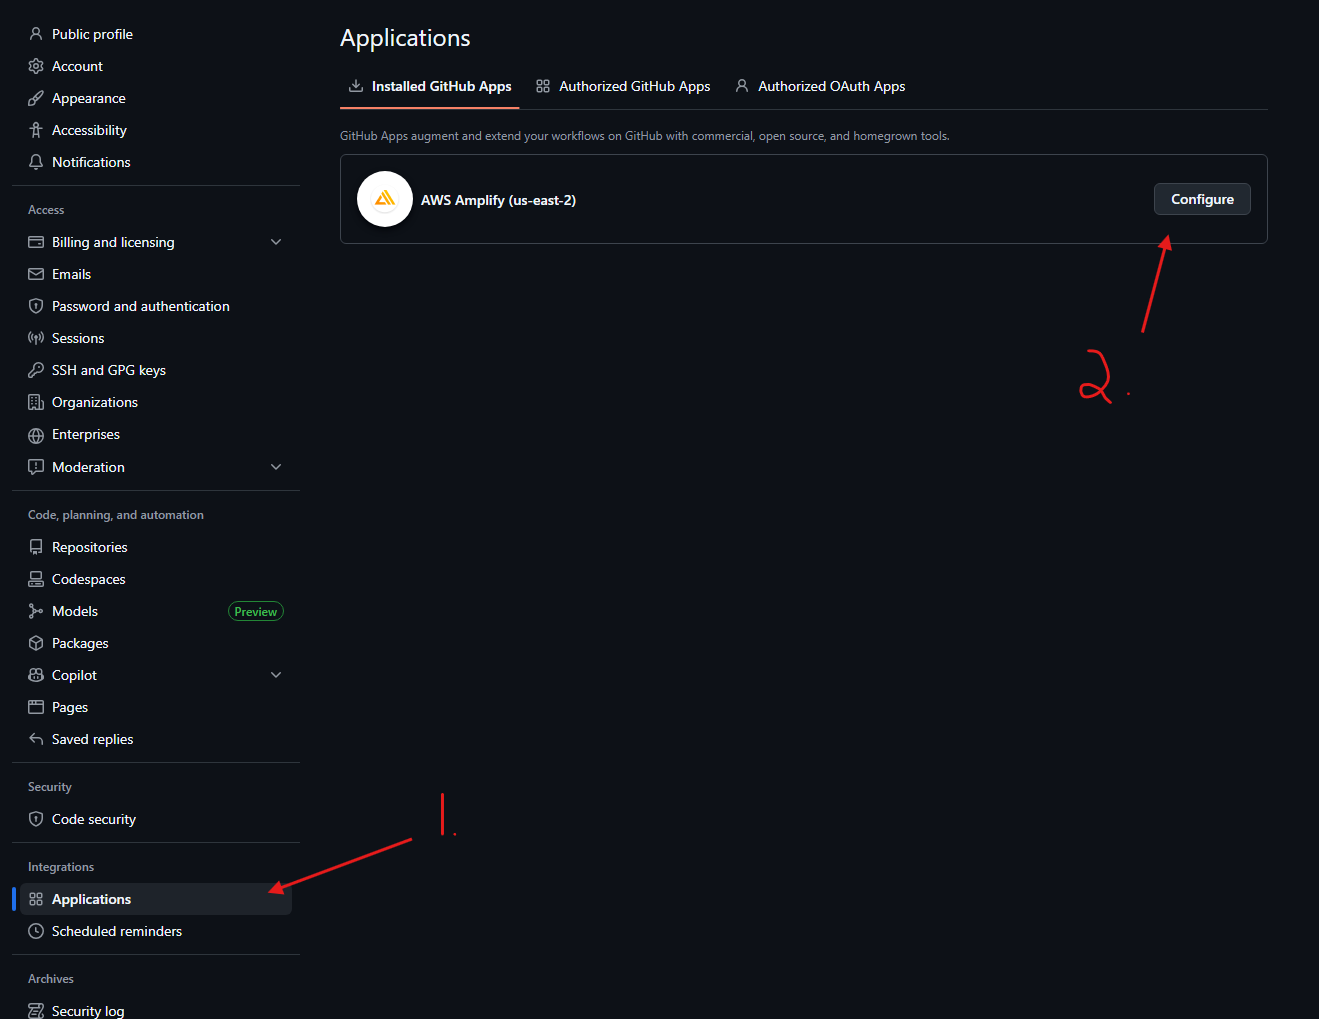
In Settings click on Applications on the left toward the bottom and then Configure under the AWS Amplify app.
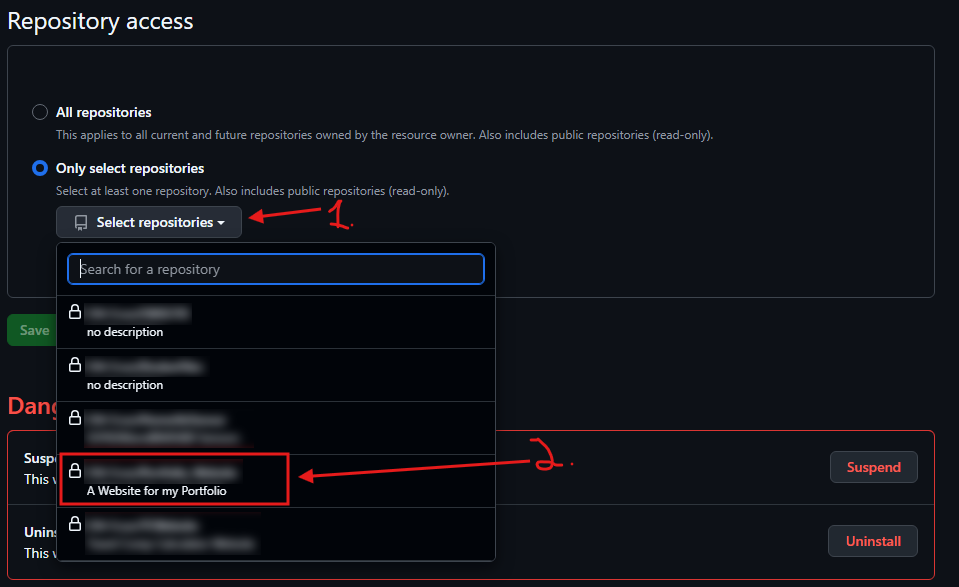
You will now configure Amplify to have access to either all repositories (not recommended) or only select ones you choose (recommended). You will also be able to see any repositories Amplify has access to here. If there are no repositories listed as selected, click on the Select repositories button and choose the repository that will host your web content.
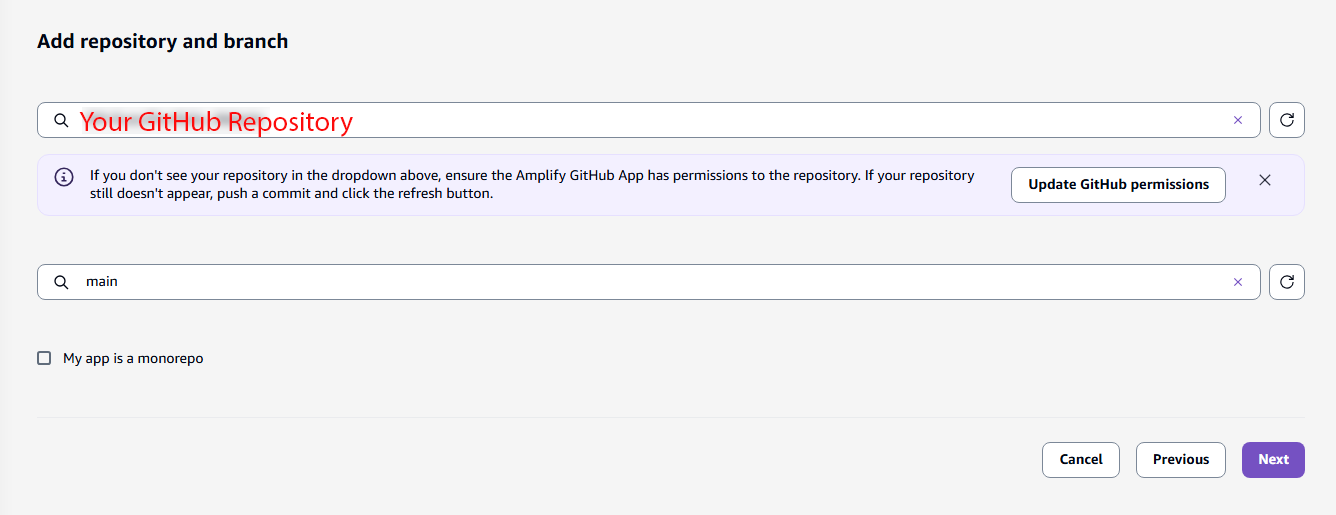
Go back to the AWS Amplify console. You should see a screen that looks like the image below.
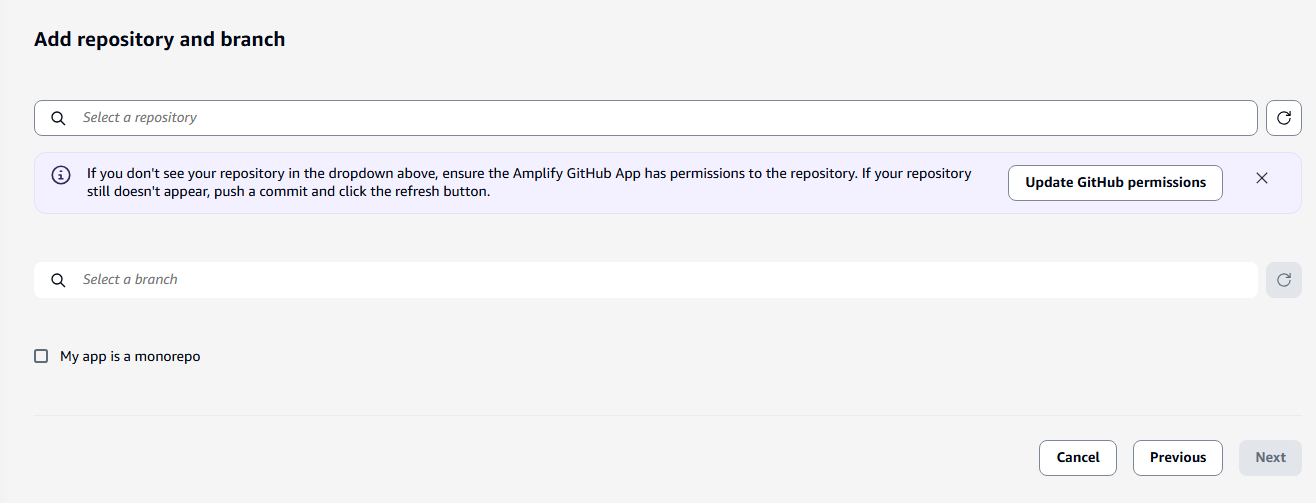
You should be able to click in the first box and see the GitHub repository you just granted access to. If you do not see this, go to the repository and create a blank file of some sort and commit it to the repository. This should refresh everything and the repository will show up in Amplify a few seconds later. The “Select a branch” box should automatically fill in “main” - leave this as is. Click next.
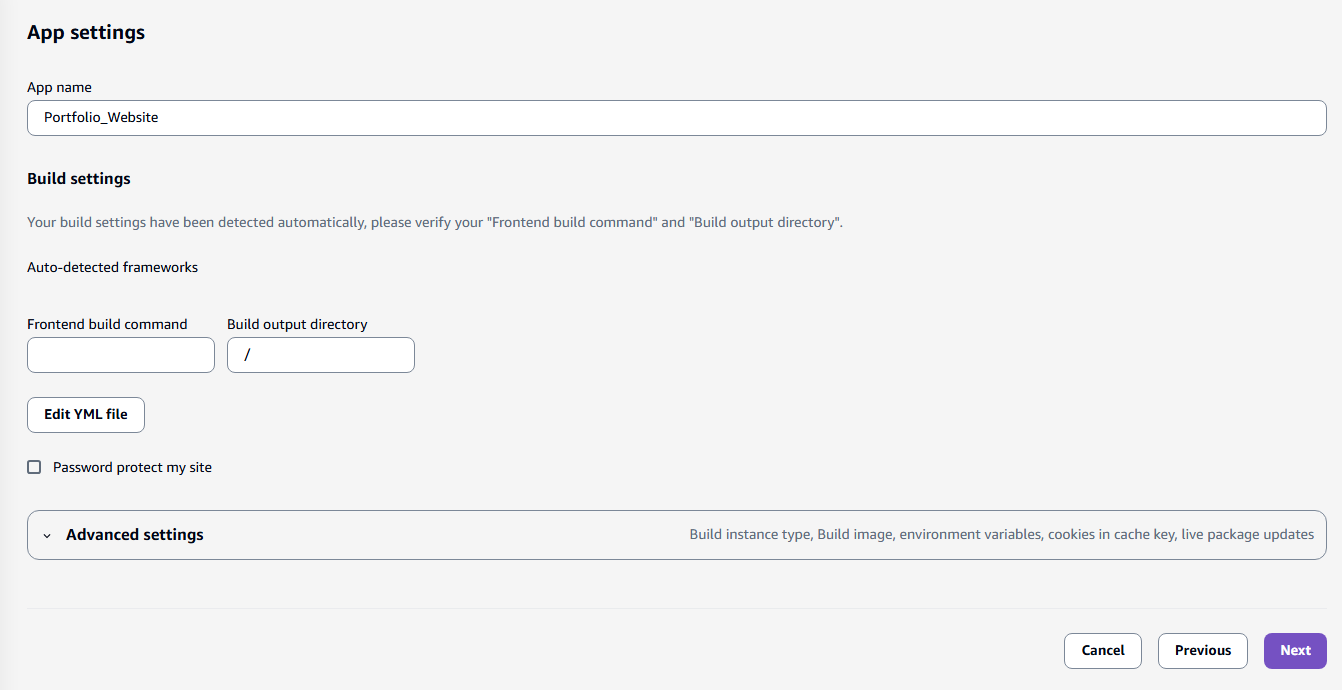
Name your app. You can leave all settings as default on the next page. Click next.
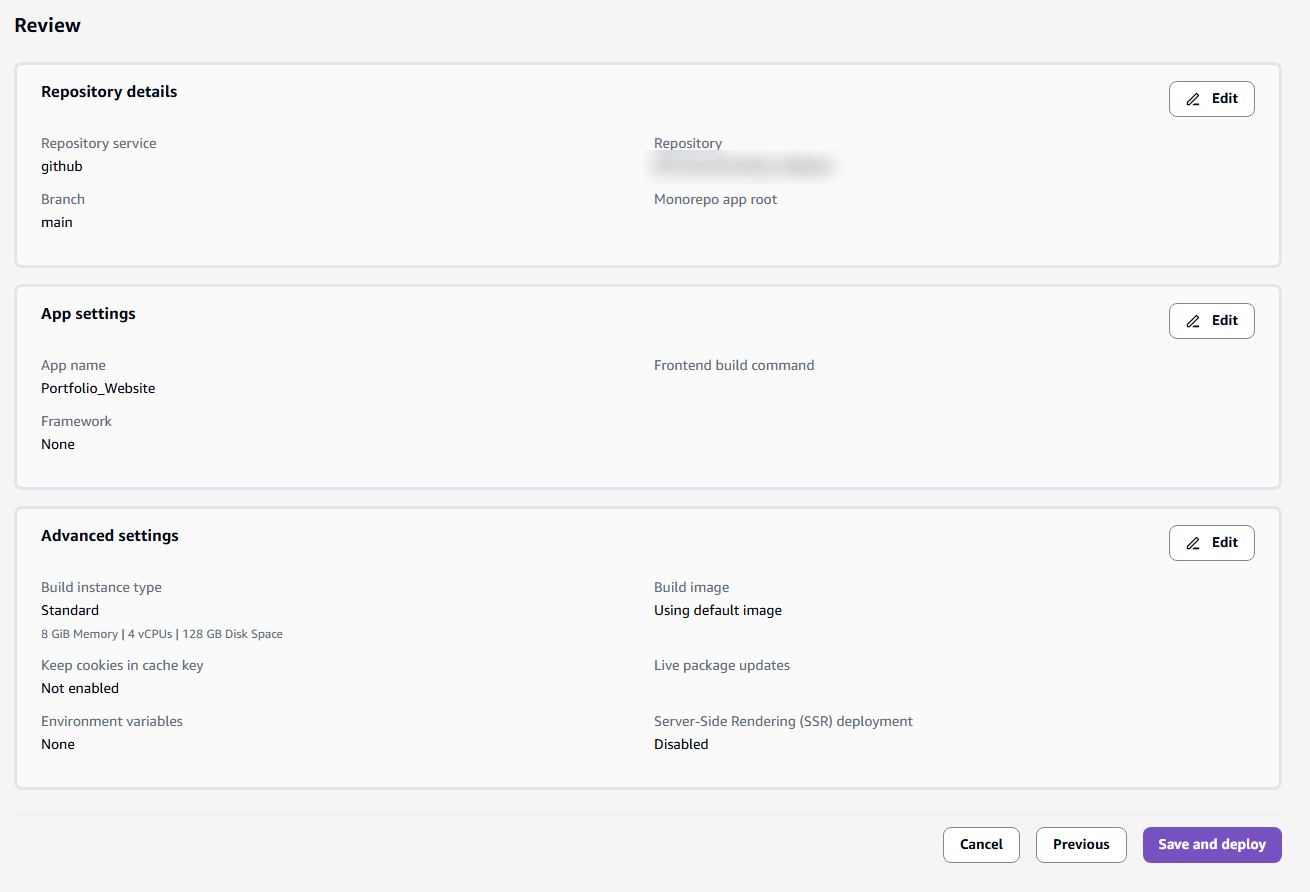
Finally, review everything on the last page, make any changes you need, and click Save and deploy when you are ready to launch your site.
Amplify will take a few minutes to actually deploy the app, but you’ll be brought to the overview page for your app.

The application deployment time can vary from a minute to several minutes for small websites. The status will change when it is complete and you will be given the domain (URL) to access the website once it’s deployed.

Congratulations! You have successfully deployed a web app using AWS Amplify.
Your next step should be to point your DNS server (if you have one) from your custom domain to the Amplify app. This setup will vary depending on who your DNS provider is, but there is some simple setup in Amplify involved as well.
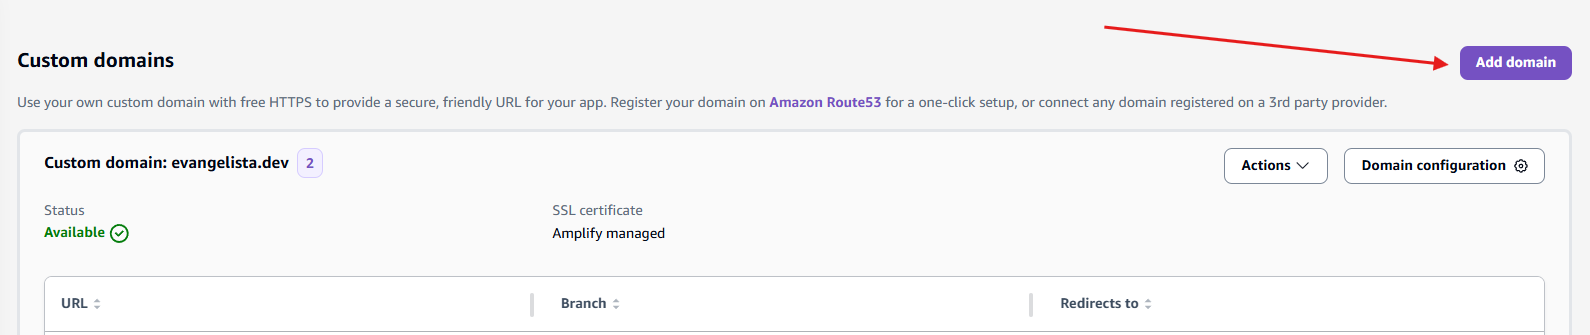
Back in the AWS console, expand the Hosting menu on the left side.
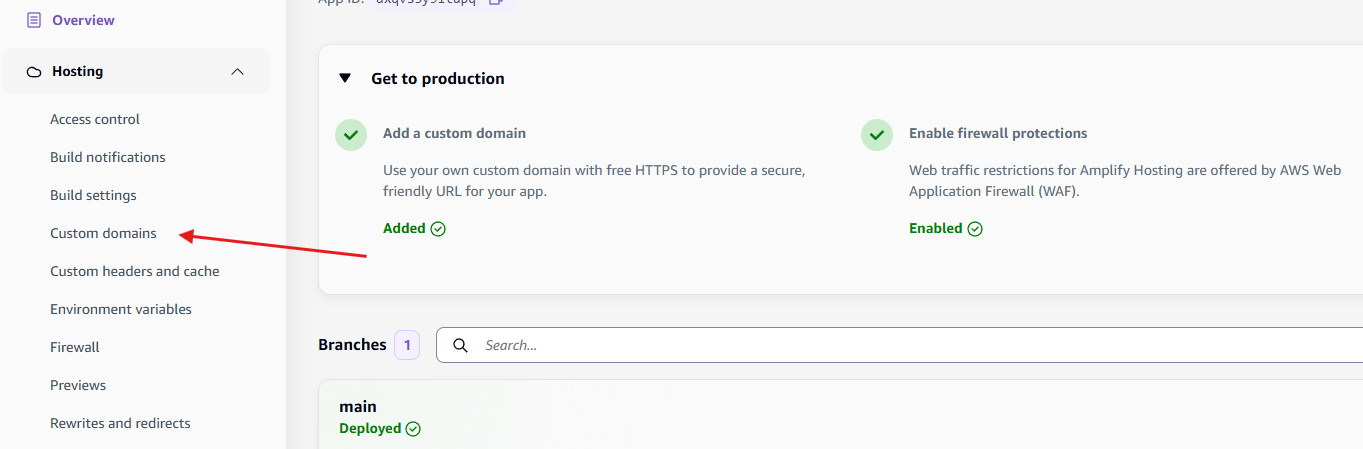
Choose Add domain once you are in the custom domain menu located on the right-hand side. Amplify will then walk you through setting up your DNS records which is completed through your domain provider..
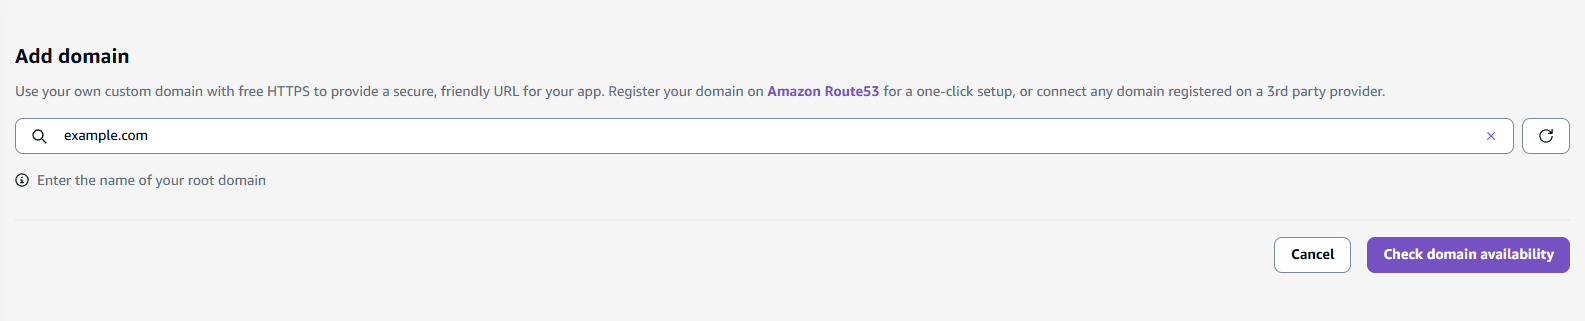
Enter your custom domain name and click Check domain availability.
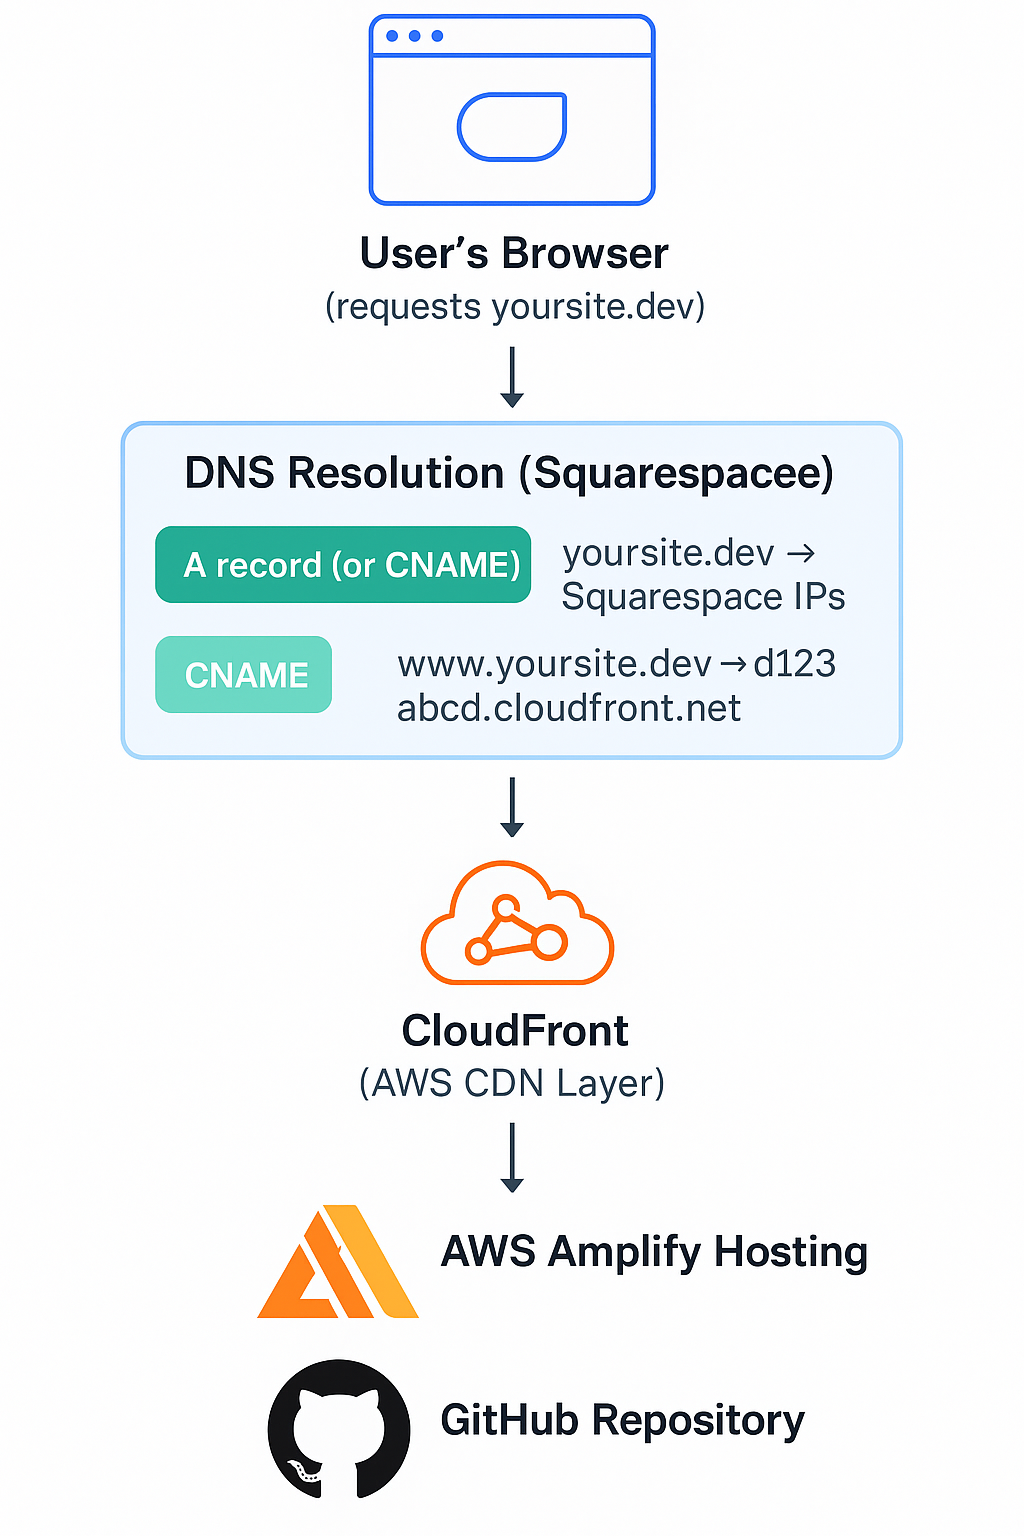
The rest of the DNS instructions are not included in this tutorial but are easy to follow using Amplify’s walk through. Amplify will even handle TLS certificate provisioning. In order to receive a TLS certificate and point your domain to your Amplify app, you will need to create two records with your DNS provider, both CNAME. One will be the WWW one which will resolve to the AWS CloudFront address provided on the screen not shown here. The other will be an ACM validation address for TLS verification (also provided during setup).
Below is a graphic explaining the DNS flow for my website. Note that Squarespace is my DNS provider but yours may be different.
It will take several minutes to complete the certification validation and then up to 30 minutes for all the DNS information to propagate.
Once the DNS propagation is complete, test your site by navigating to it using your custom domain. Hopefully everything went smoothly, and you now have a fully functioning website, congratulations!